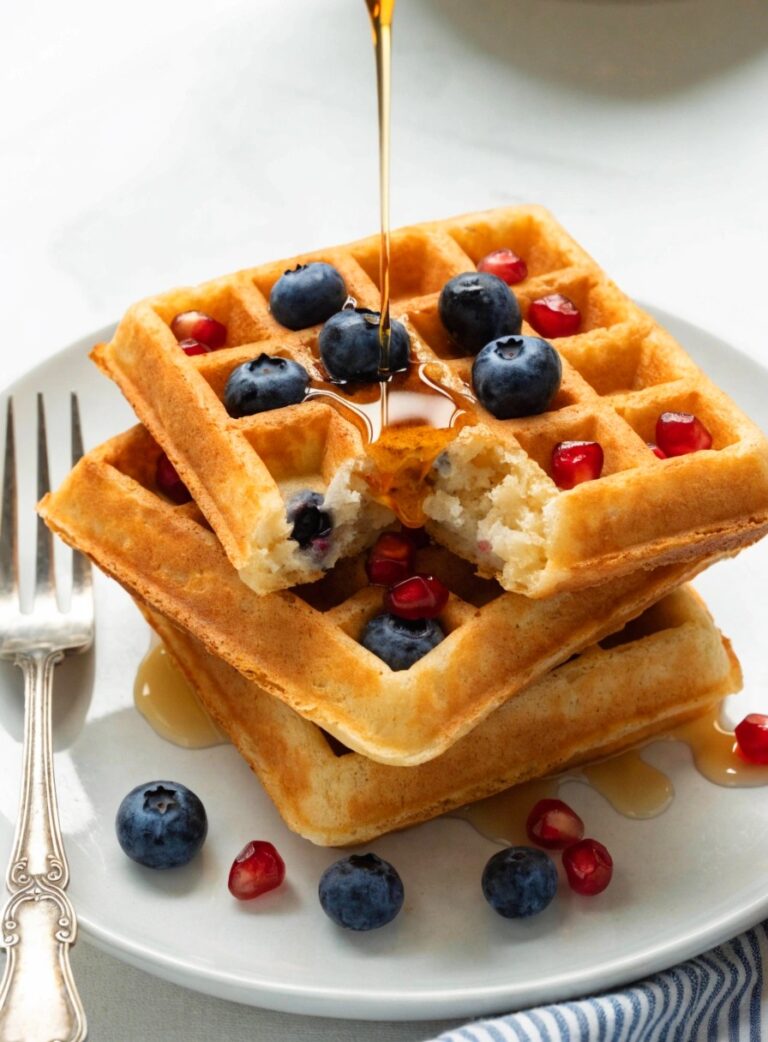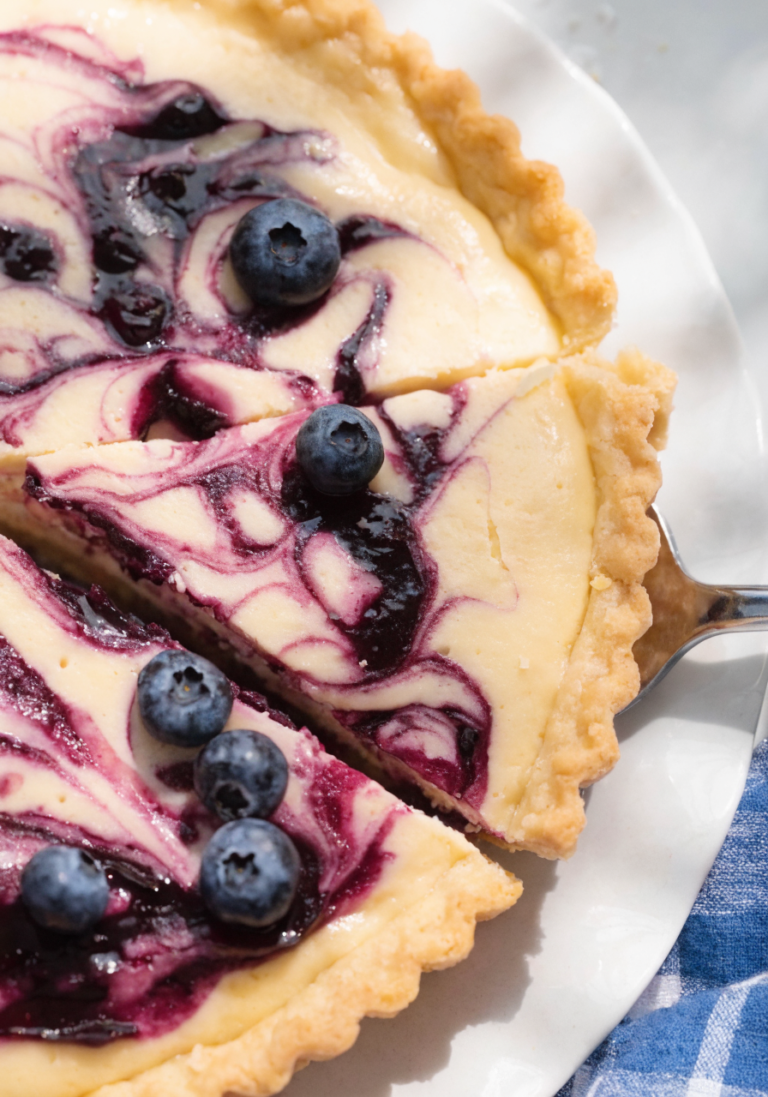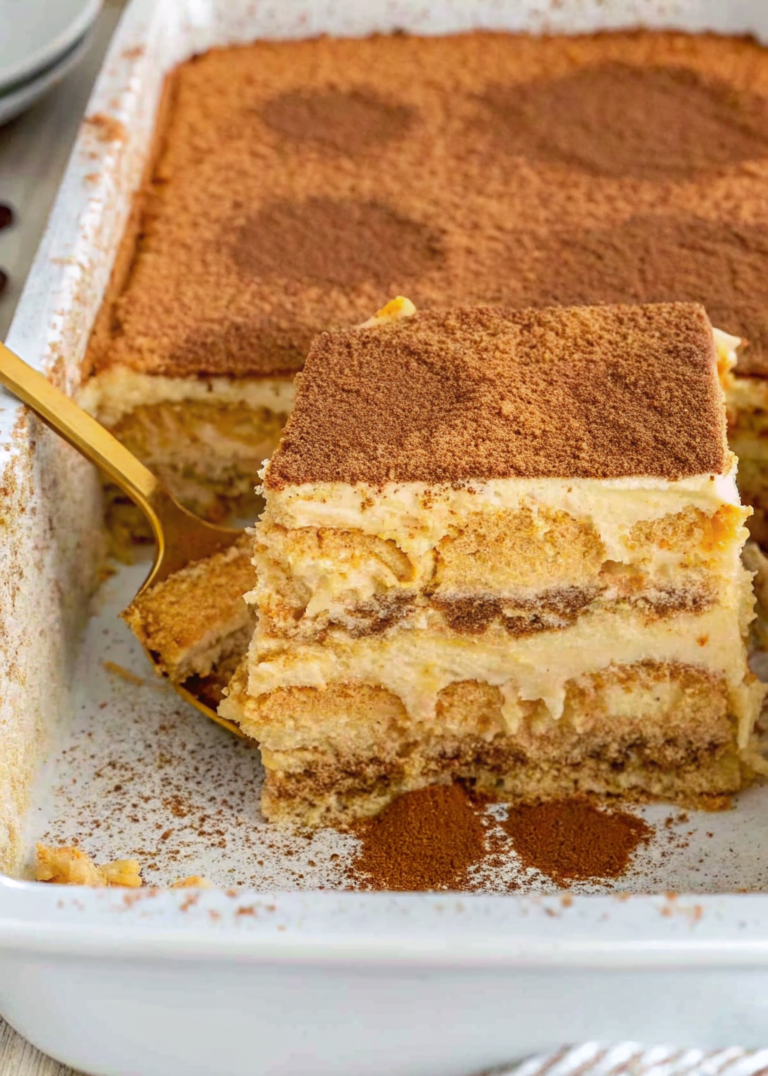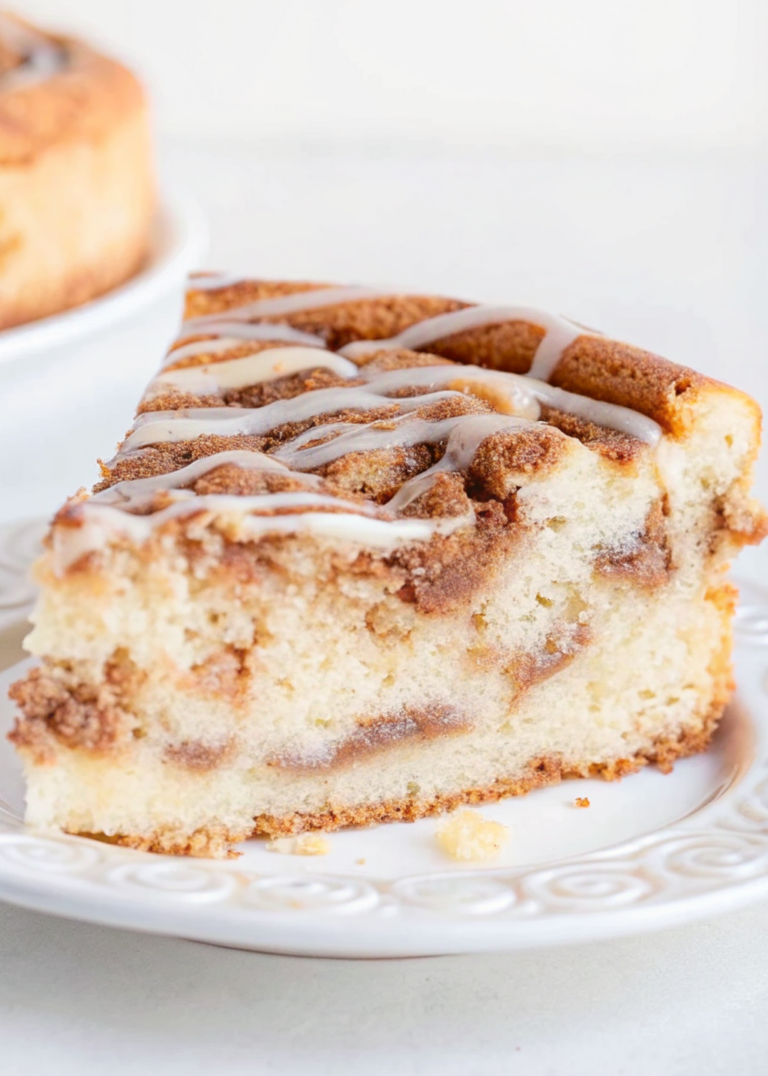
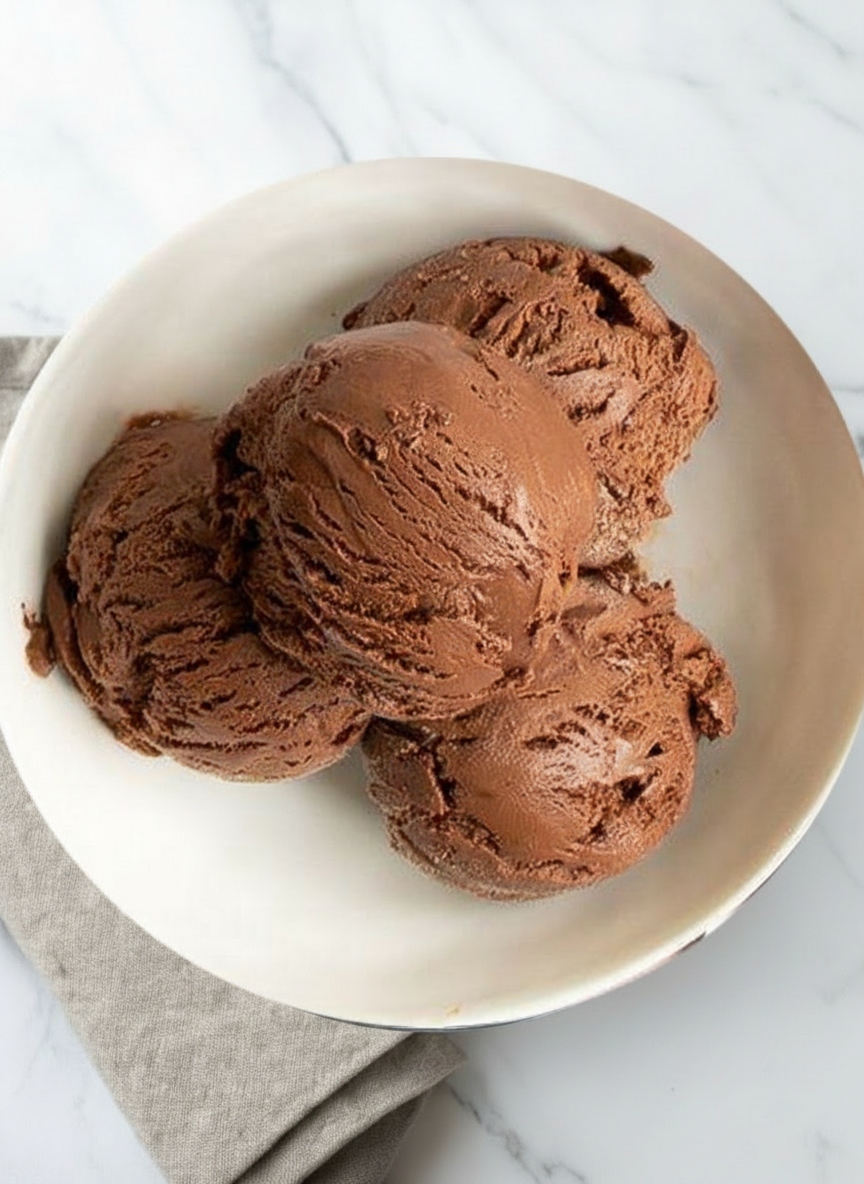
Chocolate Ice Cream is one of the most loved frozen desserts in the world because it is creamy, sweet, cold, and full of rich chocolate flavor. It is made by mixing milk, cream, sugar, and chocolate or cocoa powder together before freezing everything into a smooth dessert. Some chocolate ice creams are light and fluffy, while others are thick and extra creamy depending on the ingredients used. Kids and adults both enjoy this dessert because it tastes delicious on its own or with many other treats like brownies, cookies, waffles, and cakes.
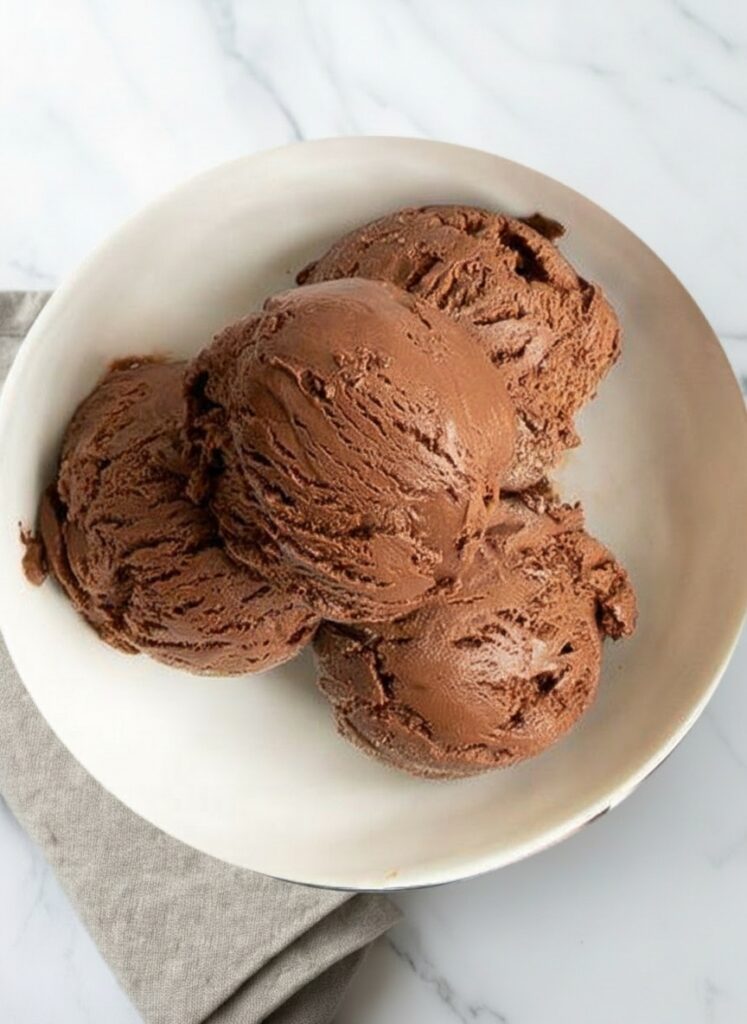
Chocolate Ice Cream has been popular for many years and can be found in ice cream shops, grocery stores, restaurants, and homemade kitchens everywhere. Homemade Chocolate Ice Cream is extra special because you can control the flavor, sweetness, and texture yourself. You can make it darker with extra cocoa powder, sweeter with chocolate chips, or creamier with more heavy cream. Making it at home is also a fun kitchen activity for families because everyone can help stir, mix, and add toppings before serving.
Why You Should Try the Chocolate Ice Cream
You should try homemade Chocolate Ice Cream because it tastes fresher and richer than many store-bought versions. When you make it yourself, you know exactly what ingredients are going into your dessert, and you can avoid artificial flavors or preservatives if you want a more natural treat. The homemade version also allows you to customize every scoop exactly the way you like it, whether you enjoy dark chocolate flavor, extra sweetness, or crunchy chocolate pieces mixed inside.
Another reason to try this recipe is that it is surprisingly simple to make, even for beginners. You do not need to be a professional chef to create creamy and delicious ice cream at home. The steps are easy to follow, and the ingredients are common items you can usually find in most kitchens or grocery stores. It is also a perfect dessert for birthdays, summer parties, movie nights, or relaxing weekends with family and friends.
Table of Contents
Ingredients you’ll need for Chocolate Ice Cream
Here is everything you need to make Chocolate Ice Cream
Main Ingredients
- 2 cups heavy cream
- 1 cup whole milk
- 3/4 cup granulated sugar
- 1/2 cup unsweetened cocoa powder
- 1 teaspoon vanilla extract
- 1/2 cup semi-sweet chocolate chips
- A small pinch of salt
Optional Toppings
- Chocolate syrup
- Whipped cream
- Chocolate chips
- Crushed cookies
- Chopped nuts
- Fresh strawberries
- Mini marshmallows
How to Make Chocolate Ice Cream
Step 1: Mix the Base
Start by pouring the whole milk and heavy cream into a medium saucepan. Add the sugar, cocoa powder, and a small pinch of salt, then whisk everything together slowly until the cocoa powder is fully mixed and no dry lumps remain. Place the saucepan over medium heat and continue stirring gently while the mixture warms up, making sure the sugar dissolves completely and the liquid becomes smooth and chocolatey without boiling too hard.
Step 2: Melt the Chocolate
Once the mixture is warm and smooth, add the chocolate chips and continue stirring carefully until they melt completely into the cream mixture. This step gives the ice cream an extra rich chocolate flavor and creates a creamier texture that tastes amazing once frozen. Remove the saucepan from the heat and stir in the vanilla extract, which adds sweetness and helps balance the deep chocolate taste.
Step 3: Cool the Mixture
Allow the chocolate mixture to cool at room temperature for about 20 minutes before placing it in the refrigerator. Chilling the mixture before freezing is very important because it helps the ice cream become smoother and creamier later. Cover the bowl or container with plastic wrap and refrigerate it for at least 3 to 4 hours, or until the mixture becomes very cold.
Step 4: Churn the Ice Cream
Pour the chilled chocolate mixture into your ice cream maker and churn it according to the machine instructions. As the machine mixes and freezes the dessert, you will notice the texture becoming thick, creamy, and fluffy like soft-serve ice cream. This process usually takes around 20 to 30 minutes depending on the ice cream maker you use.
Step 5: Freeze Until Firm
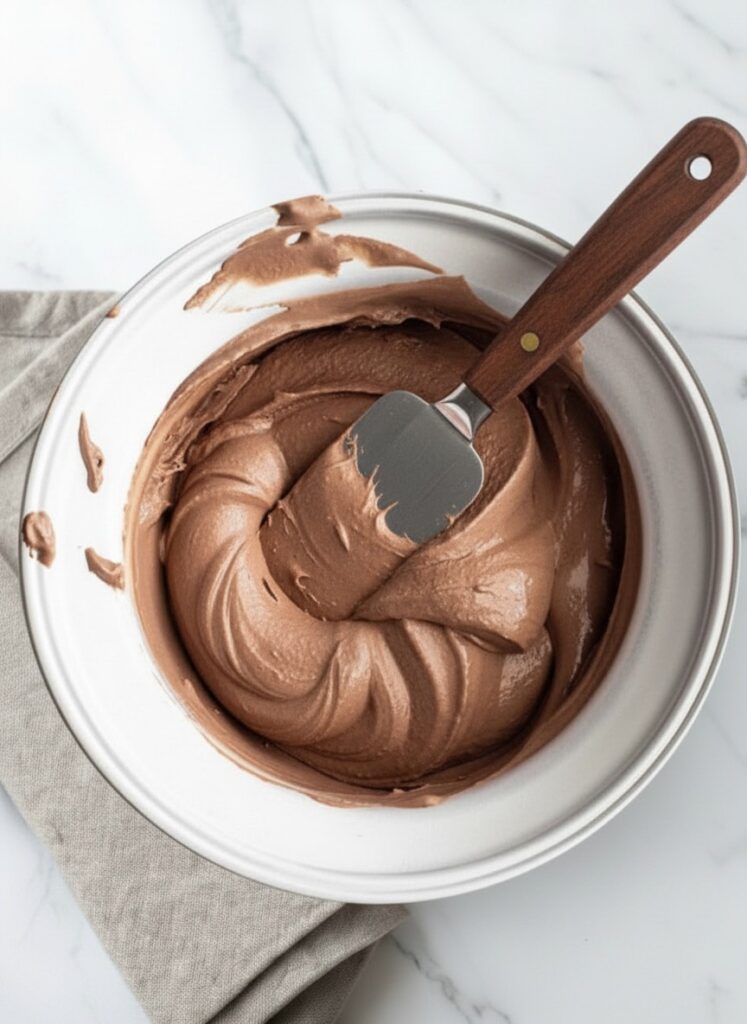
Transfer the soft ice cream into a freezer-safe container and spread it evenly using a spoon or spatula. Cover the container tightly and place it in the freezer for at least 4 hours so the ice cream can become firm and scoopable. When ready to serve, let the container sit at room temperature for a few minutes so scooping becomes easier.
You can add this post to your favorite Pinterest board!
Kitchen equipment you will need :
Before you start, make sure you have these kitchen tools ready:
- Large mixing bowl
- Medium saucepan
- Whisk
- Measuring cups and spoons
- Wooden spoon or spatula
- Fine mesh strainer (optional for extra smooth ice cream)
- Ice cream maker or freezer-safe container
- Freezer
- Ice cream scoop
Tips for the Best Chocolate Ice Cream
Use high-quality cocoa powder for a richer flavor.
Chill the mixture completely before freezing for smoother texture.
Add crushed cookies for cookies-and-cream flavor.
Store the ice cream in an airtight container to prevent ice crystals.
What to Eat With Chocolate Ice Cream
I like making chocolate ice cream when I want something rich, creamy, and extra satisfying. The smooth chocolate flavor makes it a classic dessert that’s perfect for warm days or anytime you want a sweet treat. It’s simple, comforting, and loved by both kids and adults. My daughter enjoys it especially with chocolate chips or a little whipped cream on top. At home we usually serve it cold with cookies, brownies, or fresh fruit on the side. It goes really well with coffee, a smoothie, or even on its own as a refreshing dessert.
Commonly Asked Questions
How long does homemade Chocolate Ice Cream last in the freezer ?
Homemade Chocolate Ice Cream usually stays fresh for about 1 to 2 weeks when stored in an airtight container.
Can I use cocoa powder instead of melted chocolate ?
Yes, cocoa powder works very well and gives the ice cream a strong chocolate flavor without needing melted chocolate.
Why should I chill the mixture before freezing ?
A cold mixture freezes more evenly and helps prevent icy texture in the finished dessert.
How can I make the chocolate flavor stronger ?
Using dark cocoa powder or adding extra melted chocolate will create a richer chocolate taste.
Chocolate Ice Cream
Course: DessertCuisine: AmericanDifficulty: Easy6
servings15
minutes10
minutes320
kcal4
hours16
minutesThis homemade Chocolate Ice Cream is rich, creamy, smooth, and full of delicious chocolate flavor. It is easy to make with simple ingredients and perfect for hot days, parties, or sweet family desserts.
Ingredients
2 cups heavy cream
1 cup whole milk
3/4 cup granulated sugar
1/2 cup unsweetened cocoa powder
1 teaspoon vanilla extract
1/2 cup semi-sweet chocolate chips
A small pinch of salt
Chocolate syrup
Whipped cream
Chocolate chips
Crushed cookies
Chopped nuts
Fresh strawberries
Mini marshmallows
Directions
- Step 1: Mix the Base :Start by pouring the whole milk and heavy cream into a medium saucepan. Add the sugar, cocoa powder, and a small pinch of salt, then whisk everything together slowly until the cocoa powder is fully mixed and no dry lumps remain. Place the saucepan over medium heat and continue stirring gently while the mixture warms up, making sure the sugar dissolves completely and the liquid becomes smooth and chocolatey without boiling too hard.
- Step 2: Melt the Chocolate :Once the mixture is warm and smooth, add the chocolate chips and continue stirring carefully until they melt completely into the cream mixture. This step gives the ice cream an extra rich chocolate flavor and creates a creamier texture that tastes amazing once frozen. Remove the saucepan from the heat and stir in the vanilla extract, which adds sweetness and helps balance the deep chocolate taste.
- Step 3: Cool the Mixture :Allow the chocolate mixture to cool at room temperature for about 20 minutes before placing it in the refrigerator. Chilling the mixture before freezing is very important because it helps the ice cream become smoother and creamier later. Cover the bowl or container with plastic wrap and refrigerate it for at least 3 to 4 hours, or until the mixture becomes very cold.
- Step 4: Churn the Ice Cream :Pour the chilled chocolate mixture into your ice cream maker and churn it according to the machine instructions. As the machine mixes and freezes the dessert, you will notice the texture becoming thick, creamy, and fluffy like soft-serve ice cream. This process usually takes around 20 to 30 minutes depending on the ice cream maker you use.
- Step 5: Freeze Until Firm :Transfer the soft ice cream into a freezer-safe container and spread it evenly using a spoon or spatula. Cover the container tightly and place it in the freezer for at least 4 hours so the ice cream can become firm and scoopable. When ready to serve, let the container sit at room temperature for a few minutes so scooping becomes easier.
Notes
- Stir the mixture constantly while heating so the chocolate does not burn.
- Use whole milk and heavy cream for extra creamy ice cream.
- Store the ice cream in an airtight container to keep it fresh longer.
- Add a spoonful of instant coffee to make the chocolate flavor stronger.