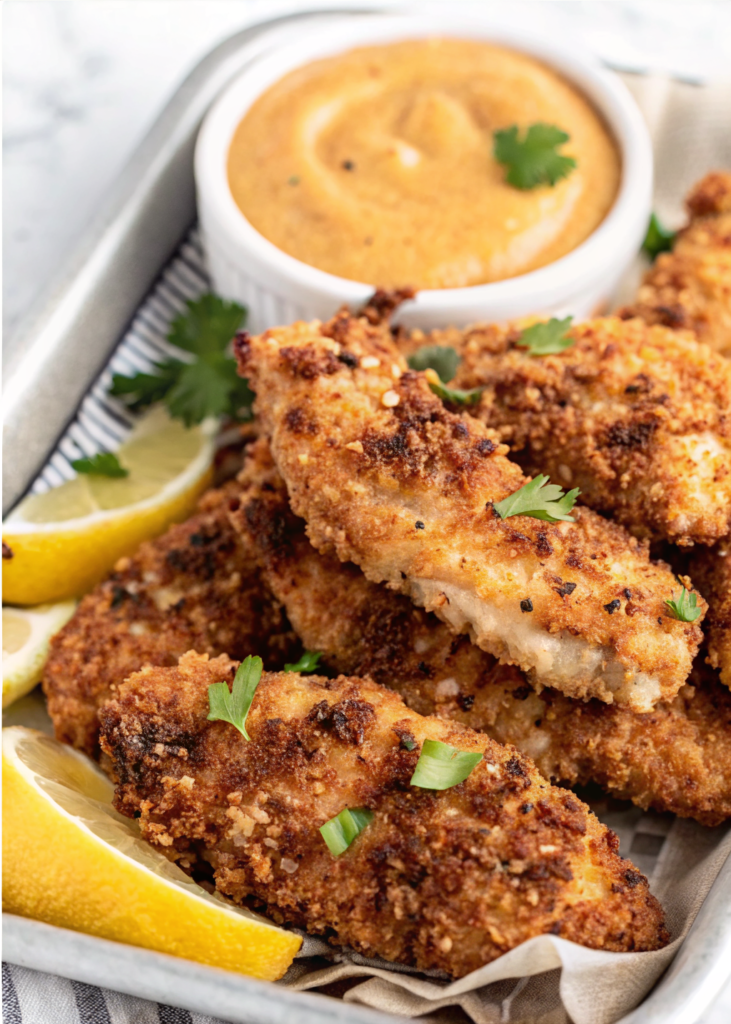
Buttermilk Chicken Tenders are crispy, juicy pieces of chicken that are soaked in buttermilk before cooking. The buttermilk is a little bit tangy and helps make the chicken super soft and flavorful. When the chicken soaks, it becomes tender on the inside and tastes delicious all the way through. After soaking, the chicken is coated in a seasoned flour mixture and cooked until golden brown and crunchy on the outside.

This recipe is very popular because it is simple, comforting, and loved by both kids and adults. Buttermilk chicken tenders are often served as a main meal, a snack, or even party food. They are easier to eat than whole fried chicken pieces and cook faster too. Best of all, you can fry them, bake them, or air-fry them depending on what you like and what tools you have in your kitchen.
Why You Should Try Buttermilk Chicken Tenders
You should try Buttermilk Chicken Tenders because they are easy to make at home and taste better than many restaurant versions. The ingredients are simple and affordable, and the steps are fun and not too hard. Even if you are new to cooking, this recipe is a great place to start. Kids can help with mixing the flour or dipping the chicken, making it a fun family activity.
Another great reason to try this recipe is that it is very flexible. You can make the chicken spicy, mild, extra crispy, or even oven-baked for a lighter option. You can serve these tenders with many different sides and sauces, which means you can enjoy them in new ways every time you make them.
Table of Contents
Table of Contents
Ingredients you’ll need for Buttermilk Chicken Tenders
Here is everything you need to makeButtermilk Chicken Tenders:
- 1½ pounds chicken tenders or chicken breasts cut into strips
- 2 cups buttermilk
- 1 teaspoon salt
- 1 teaspoon black pepper
- 1 teaspoon garlic powder
- 1 teaspoon paprika
- ½ teaspoon onion powder
- 1½ cups all purpose flour
- ½ cup cornstarch for extra crispiness
- 1 teaspoon baking powder
- Oil for frying vegetable or canola oil
How to Make Buttermilk Chicken Tenders
Step 1
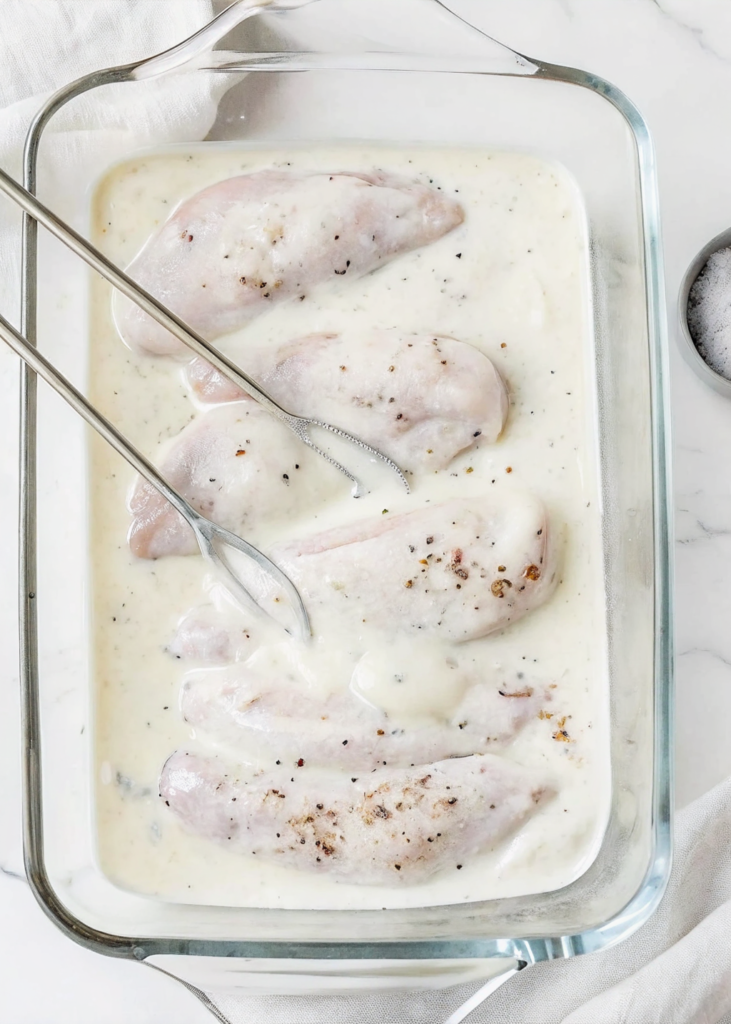
Start by placing the chicken tenders into a large bowl. Pour the buttermilk over the chicken, making sure every piece is fully covered. Add the salt, black pepper, garlic powder, paprika, and onion powder to the bowl. Gently mix everything together so the seasoning spreads evenly. Cover the bowl with plastic wrap and place it in the refrigerator for at least 1 hour. For the best flavor and tenderness, you can let the chicken soak for up to 12 hours.
Step 2
When you are ready to cook, take the chicken out of the fridge and let it sit at room temperature for about 10 minutes. In a separate large bowl, mix the flour, cornstarch, baking powder, and a little extra salt and pepper. Stir well so all the dry ingredients are evenly combined. This flour mixture is what makes the chicken crispy and golden.
Step 3
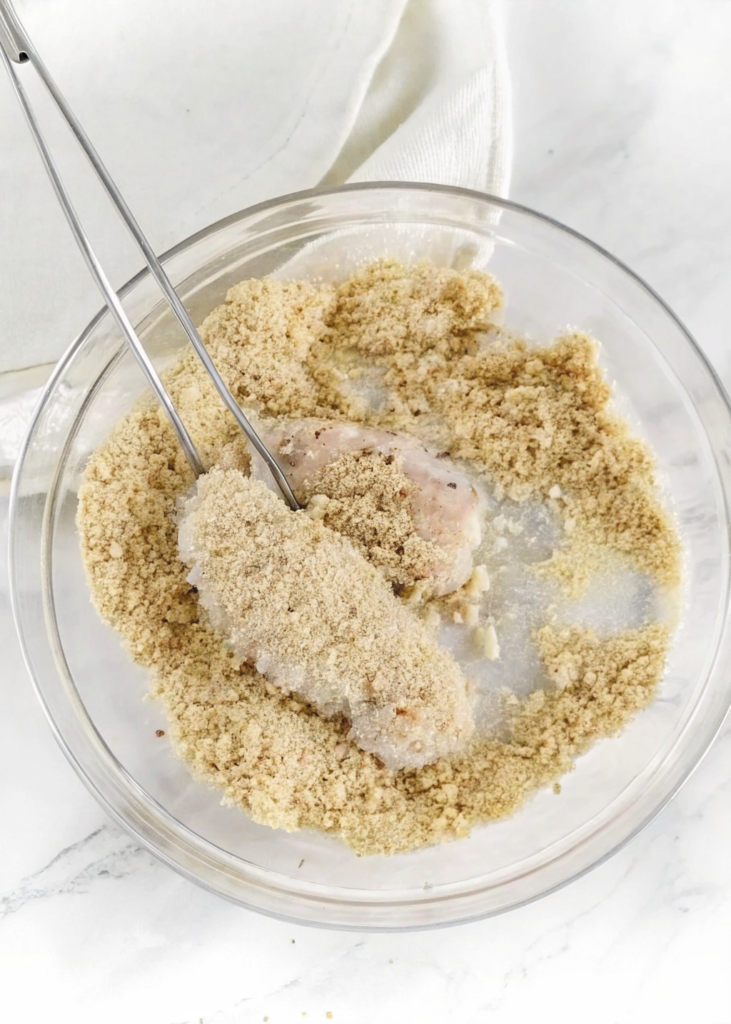
Remove one piece of chicken at a time from the buttermilk and let the extra liquid drip off. Place the chicken into the flour mixture and press it gently so the coating sticks well. Make sure the chicken is fully covered, then place it on a plate. Repeat this step until all the chicken pieces are coated. Let the coated chicken rest for about 5 minutes, which helps the coating stay on during cooking.
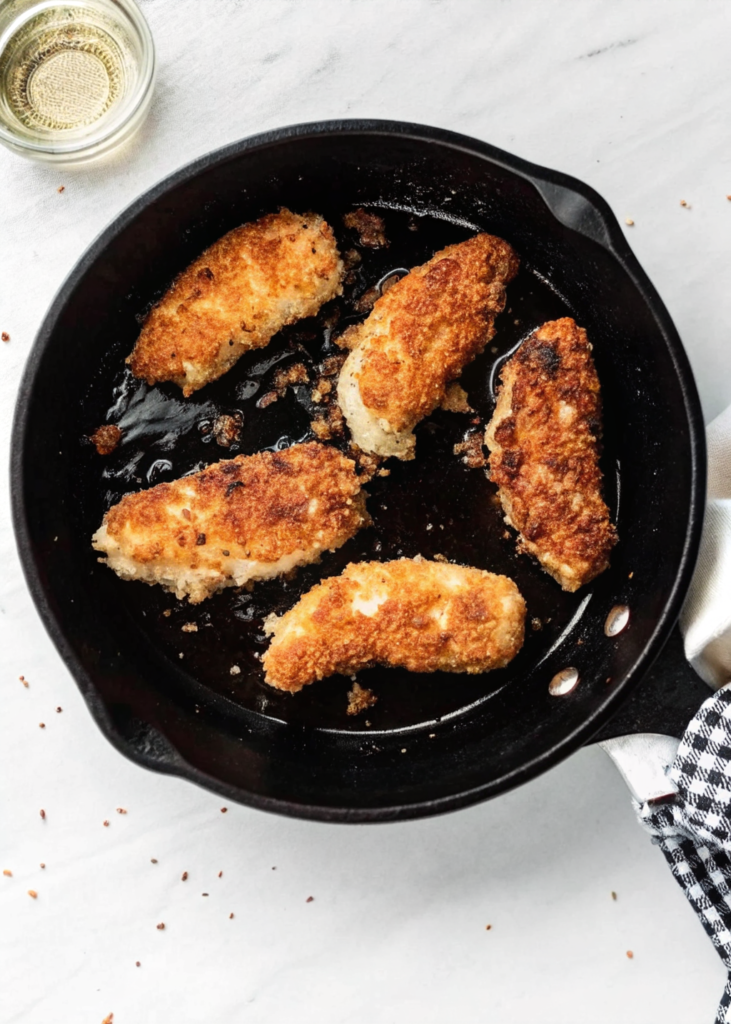
Step 4
Heat oil in a deep pan or skillet over medium heat. The oil should be hot but not smoking. Carefully place a few chicken tenders into the oil, making sure not to overcrowd the pan. Cook for about 4–5 minutes on each side, turning once, until the chicken is golden brown and cooked through. Remove the chicken and place it on a plate lined with paper towels. Continue cooking the remaining tenders in batches.
You can add this post to your favorite Pinterest board!
Kitchen equipment you will need :
Before you start, make sure you have these kitchen tools ready:
- Large mixing bowls
- Measuring cups and spoons
- Whisk or fork
- Plastic wrap
- Large skillet or deep frying pan
- Tongs
- Plate and paper towels
- Meat thermometer optional but helpful
Tips and Variation Ideas
One helpful tip is to always let the chicken rest in the flour coating before frying. This makes the crust stick better and stay crispy. If you want extra crunch, you can dip the chicken back into the buttermilk and then into the flour a second time.
If you are short on time, you can marinate the chicken for just 30 minutes, but longer is better if you can plan ahead. For a healthier shortcut, you can bake the tenders at 400°F (200°C) for about 20–25 minutes, flipping halfway through. Spraying them lightly with oil helps them brown nicely in the oven.
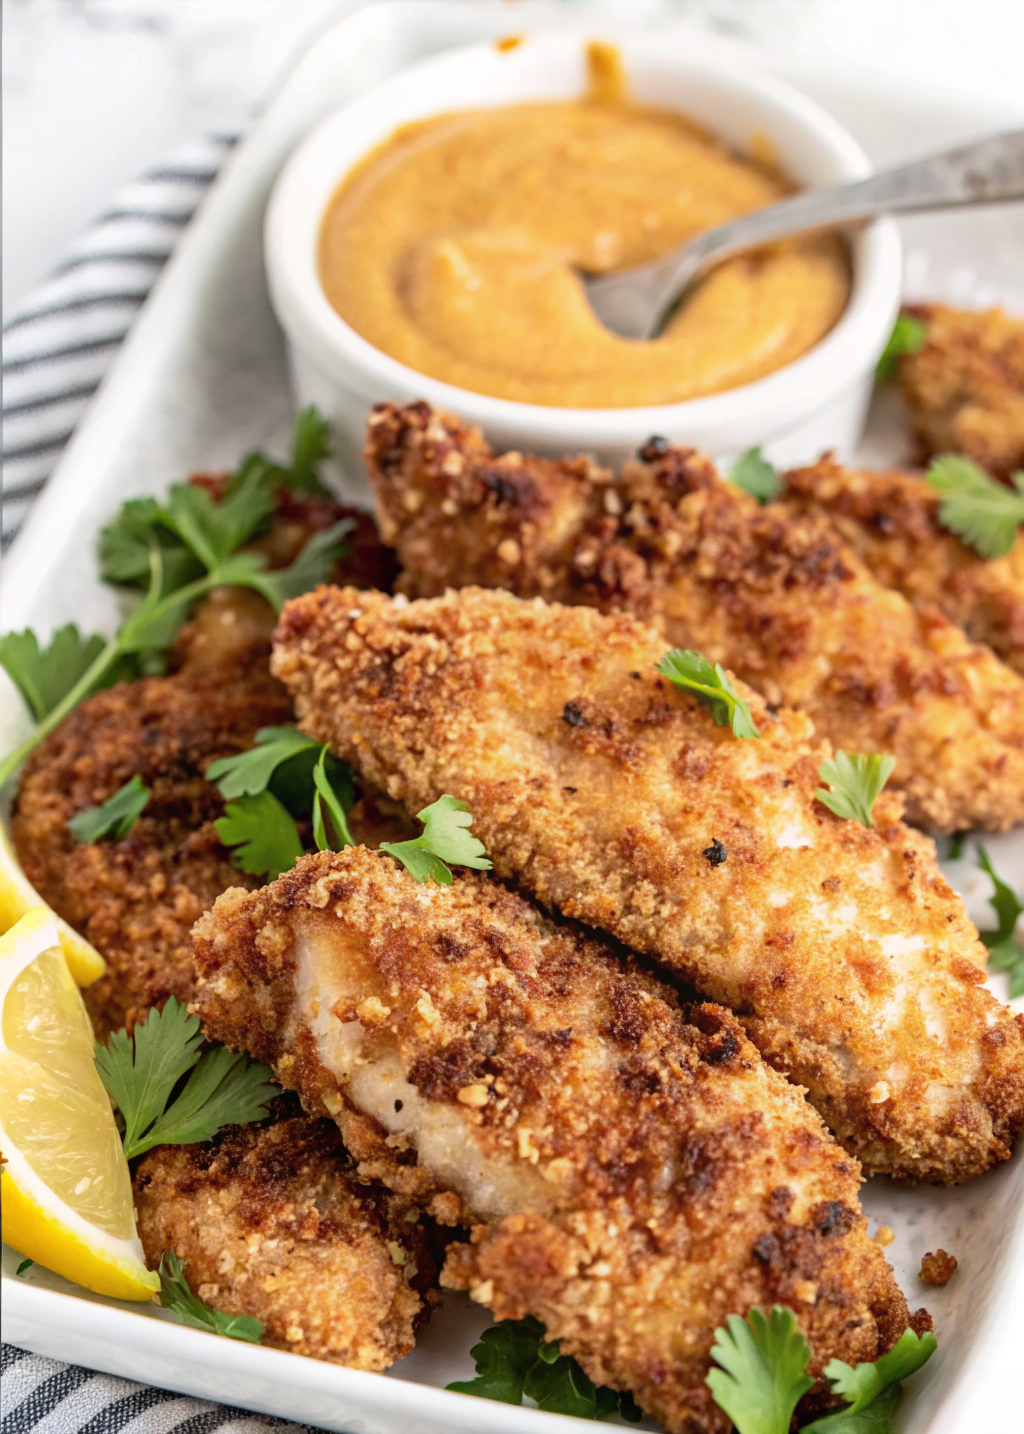
What can I serve with this Buttermilk Chicken Tenders ?
I often serve this Buttermilk Chicken Tenders with a side salad and some delicious drinks like lemonade or fruit juice. We also usually serve some delicious desserts like cake or Cupcakes .
Commonly Asked Questions
Why is buttermilk used for chicken tenders ?
Buttermilk helps tenderize the chicken and adds a mild tangy flavor that makes the chicken taste better.
Can I make buttermilk chicken tenders without frying ?
Yes, you can bake or air fry them for a lighter version.
How do I make the chicken tenders extra crispy ?
Use cornstarch in the flour mixture and let the coated chicken rest before cooking.
Can I freeze buttermilk chicken tenders ?
Yes, cooked tenders can be frozen for up to 2 months in an airtight container.
Buttermilk Chicken Tenders
Course: Main DishCuisine: AmericanDifficulty: Easy4
servings15
minutes7
hours300
kcal35
minutesButtermilk Chicken Tenders are crispy on the outside and juicy on the inside. They are soaked in buttermilk for extra tenderness, then coated and cooked until golden brown. This easy recipe is perfect for family dinners, kids’ meals, or a fun weekend treat.
Ingredients
1½ pounds chicken tenders or chicken breasts cut into strips
2 cups buttermilk
1 teaspoon salt
1 teaspoon black pepper
1 teaspoon garlic powder
1 teaspoon paprika
½ teaspoon onion powder
1½ cups all purpose flour
½ cup cornstarch for extra crispiness
1 teaspoon baking powder
Oil for frying vegetable or canola oil
Directions
- Start by placing the chicken tenders into a large bowl. Pour the buttermilk over the chicken, making sure every piece is fully covered. Add the salt, black pepper, garlic powder, paprika, and onion powder to the bowl. Gently mix everything together so the seasoning spreads evenly. Cover the bowl with plastic wrap and place it in the refrigerator for at least 1 hour. For the best flavor and tenderness, you can let the chicken soak for up to 12 hours.
- When you are ready to cook, take the chicken out of the fridge and let it sit at room temperature for about 10 minutes. In a separate large bowl, mix the flour, cornstarch, baking powder, and a little extra salt and pepper. Stir well so all the dry ingredients are evenly combined. This flour mixture is what makes the chicken crispy and golden.
- Remove one piece of chicken at a time from the buttermilk and let the extra liquid drip off. Place the chicken into the flour mixture and press it gently so the coating sticks well. Make sure the chicken is fully covered, then place it on a plate. Repeat this step until all the chicken pieces are coated. Let the coated chicken rest for about 5 minutes, which helps the coating stay on during cooking.
- Heat oil in a deep pan or skillet over medium heat. The oil should be hot but not smoking. Carefully place a few chicken tenders into the oil, making sure not to overcrowd the pan. Cook for about 4–5 minutes on each side, turning once, until the chicken is golden brown and cooked through. Remove the chicken and place it on a plate lined with paper towels. Continue cooking the remaining tenders in batches.
Notes
- Let the chicken soak for several hours if possible for the best flavor.
- Use cornstarch in the flour mixture for extra crispiness.
- Do not overcrowd the pan when frying to keep the oil temperature steady.
- Drain cooked tenders on paper towels to remove extra oil.